HDR Tutorial: Make a nice HDR image in 10 minutes or less.
There are great HDR tutorials on the internet, but many or most of them require you to invest an hour or even more into the editing of a single image. The problem is, I don't have that kind of time! HDR is an hobby, and sometimes I've got really little time for it. But I love HDR pictures. So over the last three years, I've learned to make HDR's faster and faster. My HDR's are by far not the best in the world, but some of my Shanghai Skyscraper HDR's made it into the New York Skyscraper Museum among other things. So I guess they aren't the worst either. This tutorial will teach you how to create a HDR image in about 10 minutes that will look great.
Let's start off with the requirements. Besides the photo gear you probably own you need some software. This is what I use:
- Photomatix
- Photoshop
- Nik Photoshop Plugins
And that's it. You need these three programs, that's all. We'll use Photomatix to create the HDR itself, Photoshop to edit it and three different Nik plugins to make it look awesome.
So you've shot your three RAW photos in different exposures, and they look something like this:
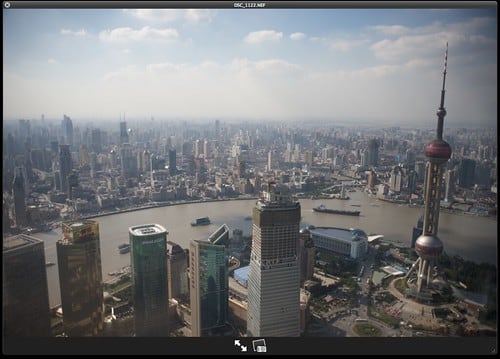
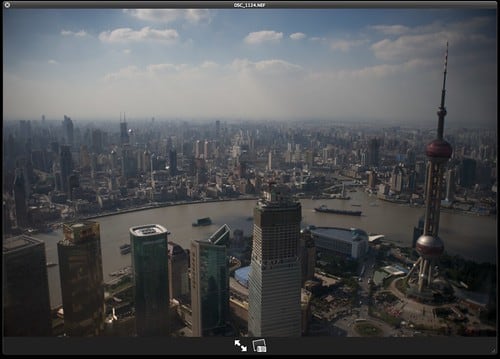
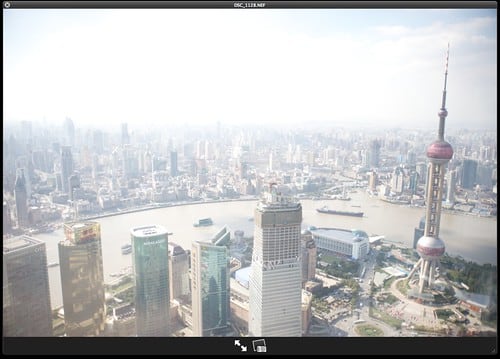
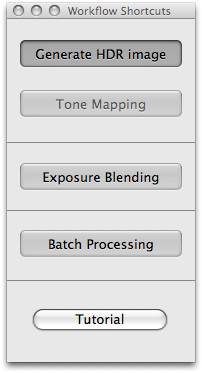
You got EV's of 0, 2 and 4, for example. Whatever your camera shoots. Open up Photomatix and click on "Generate HDR image":
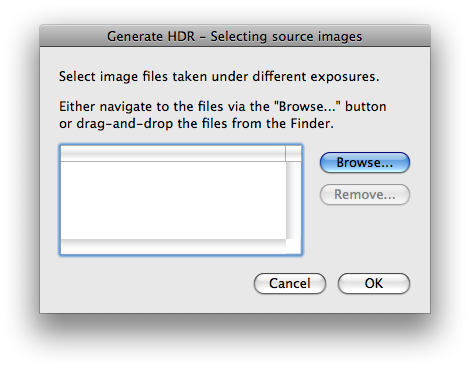
A window will pop up and ask you to choose the images:
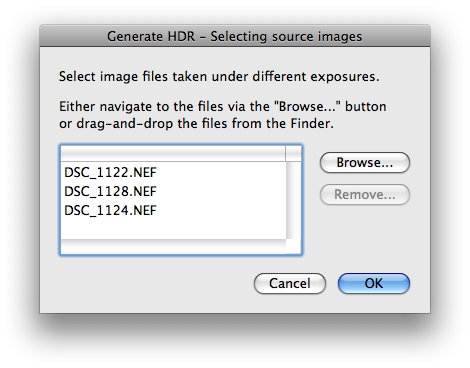
Select the three RAW photo files you shot and drag them on it:
Click OK. The Options appear:
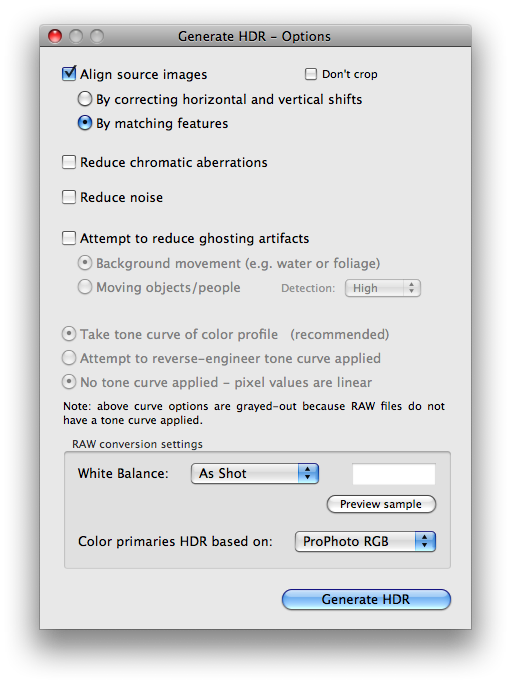
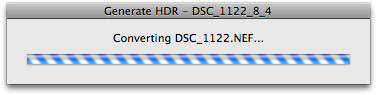
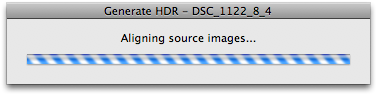
Set them up like mine. You want to align them in case you didn't use an tripod, like me in this case. Photomatix will autmatically align them for you. So nice! Important is to select ProPhoto RGB at the bottom, as this color space is by far the biggest one. And HDR makes colors really pop, so why wouldn't you want to use this one? Click on "Generate HDR" after you're done. Photomatix will then perform various tasks:
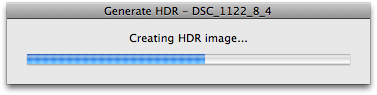
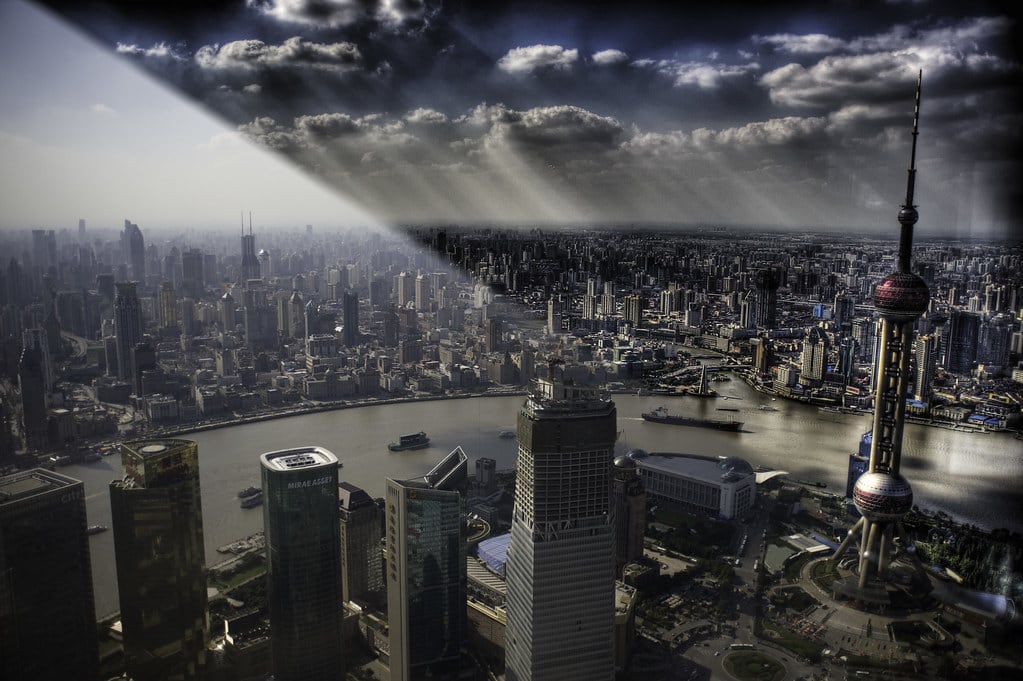
When it's done, a weird looking image will appera on screen:
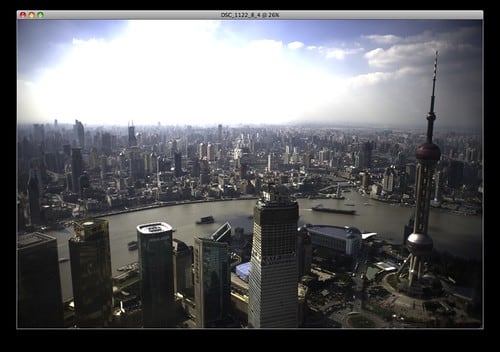
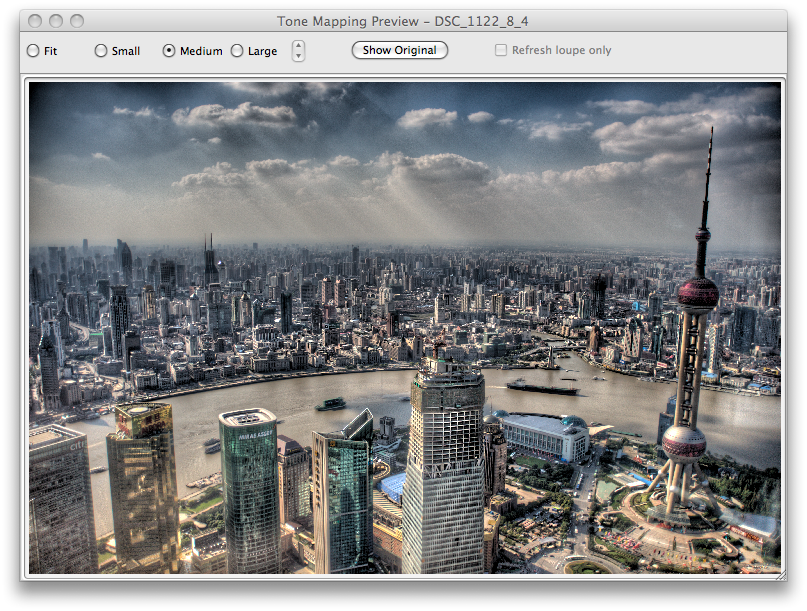
That's just a preview. In case Photomatix was unable to align your images, it will look very funny and super blurry. Then you can't use your set of images without investing a lot of time into it. In my case it worked fine. Now click on the "Tone Mapping" button:
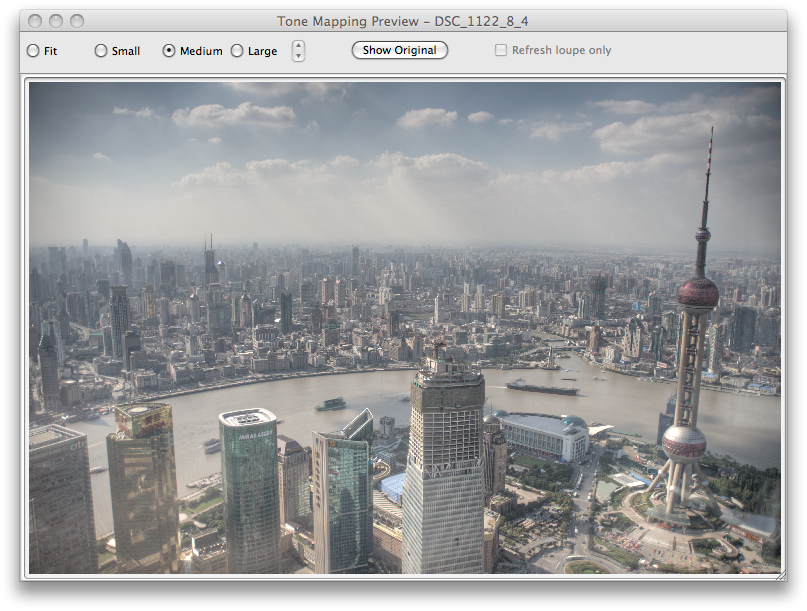
The party is about to start! Now we're gonna rock the image. If you're doing this for the first time, your settings are default, and your image will look boring like this:
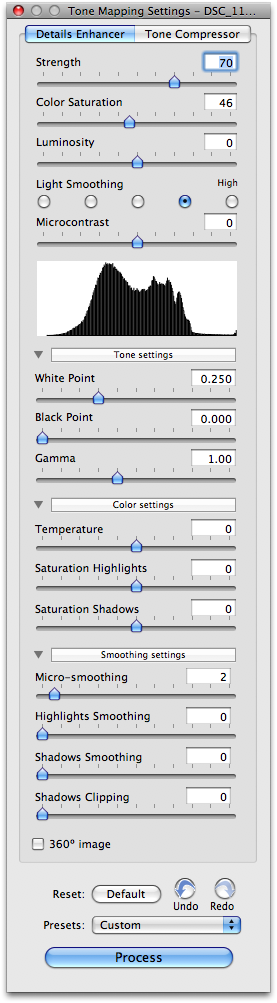
That's because the settings are like this:
They suck. Let's change them! How about this?
Much better! These are my settings:
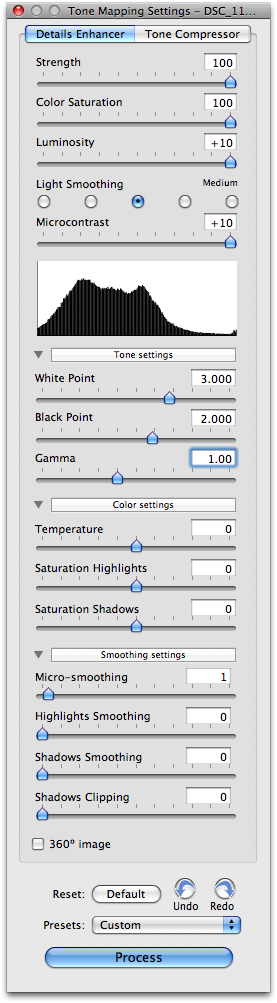
There are no perfect settings. There is a basic good setting, such as the one above, but in many cases you'll have to adjust a bit here and there. But my basic settings are somehat like that. Play around with all sliders and get comfortable with the software. Night shots need completely different settings. It also helps to save your settings once you are happy. You'll figure it out.
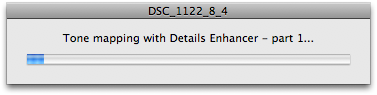
Once you are happy with the look of picture, click the "Process" button. Photomatix will now render your basic HDR image:
This will take a while, depending on your computer speed and camera resolution. Photos from my 6 Megapixel Nikon D50 take seconds to render while a Canon 5D Mark II image takes a good minute. Once it's done, you'll get to see the final result from Photomatix:
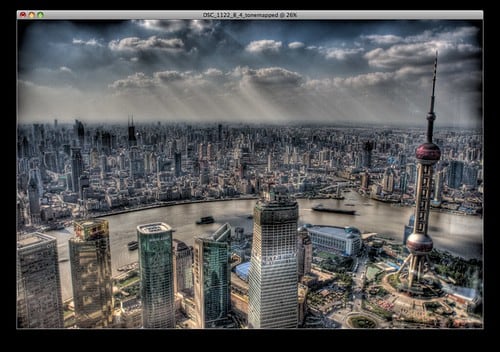
Now sometimes this looks not at all like what you saw in the HDR adjustment preview. That's because Photomatix previews it before. In the case it is too off, go to edit and undo and retry your settings. That's the only option.
But for now, let's save it:
Make sure to save it as 16-bit, it looks awesome. Okay, Photomatix is finished? Close it, we're done. Now let's open up Photoshop.
Photoshop open? Load the 16-bit TIFF you just saved. Then go to plugins and open the Nik plugin "Dfine". It will smoothen your image and remove all the gain:
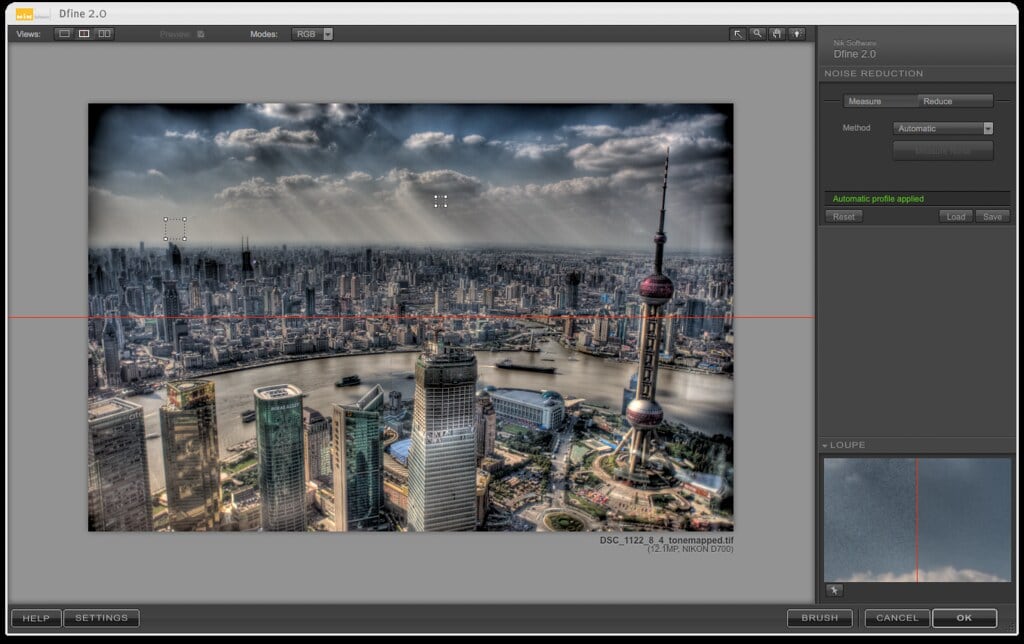
You don't really have to do anything, as it's automated. Once it analyzed your image, click on OK and let it do it's magic:
You'll maybe not notice a difference because your image is probably at 33% or even 25%. But it smoothed it a lot just now. It smoothed it so much, we need to sharpen it a bit. Launch the Nik plugin Sharpener and select RAW Pre-Sharpener. It will launch:
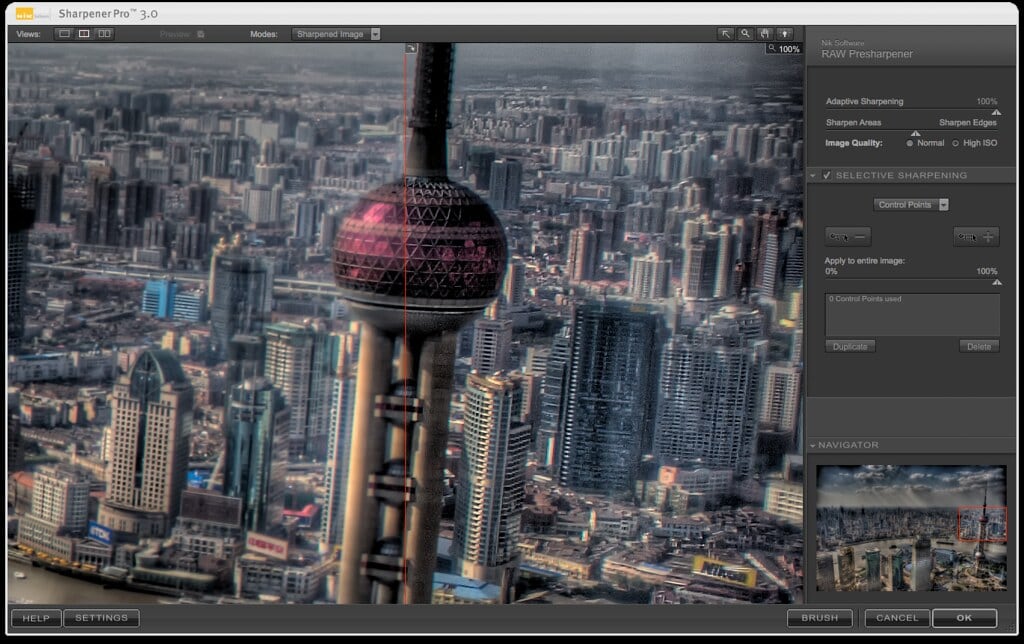
As you can see, it really clears the image up. What you're seeing is 100%, so relax about the little bit of grain there. Once it's sized down, it will look great. Hit OK.
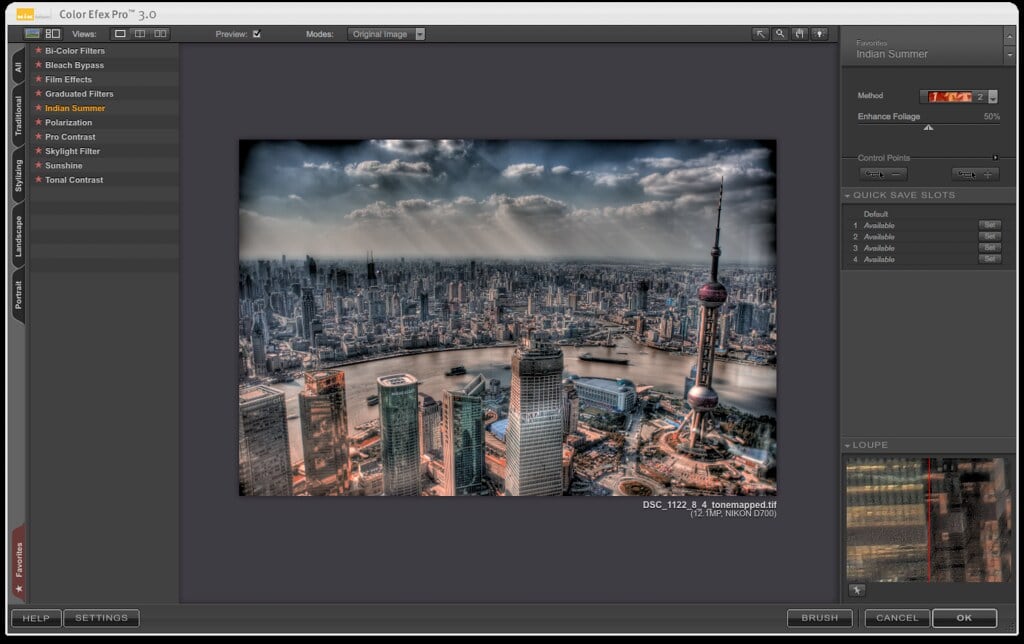
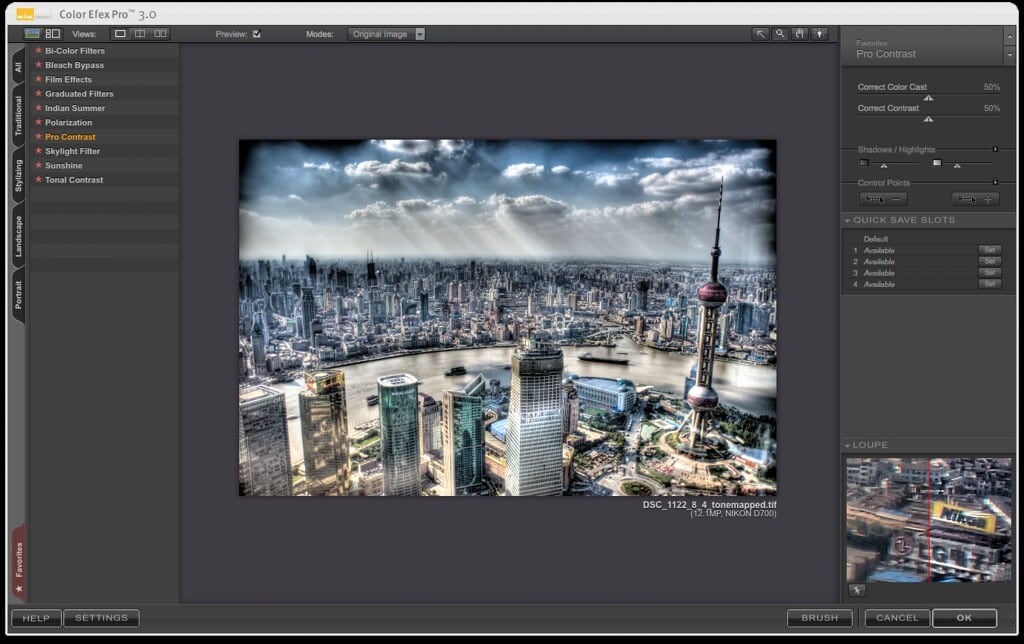
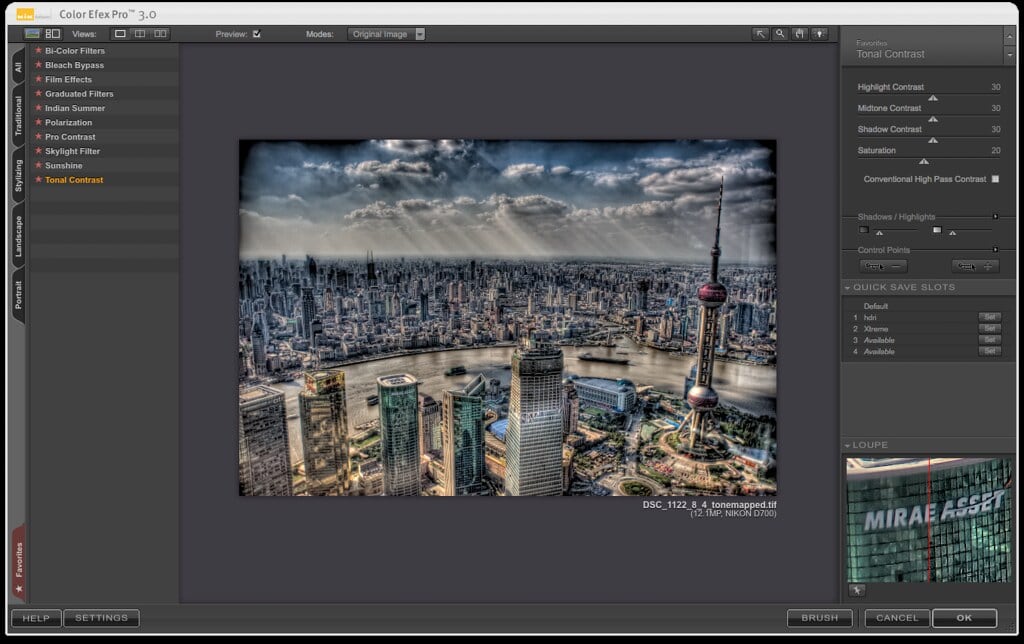
By now you should have a really neat looking HDR image. But let's make it even better! Launch the Nik plugin Color Efex Pro. This plugin rocks so hard. I've been using Photoshop for almost 10 years now, I've tried lots and lots of plugins and never have I really considered one to be a must-have. Until I tried this one. It's the bomb. Look what kind of awesome looks you can achieve:
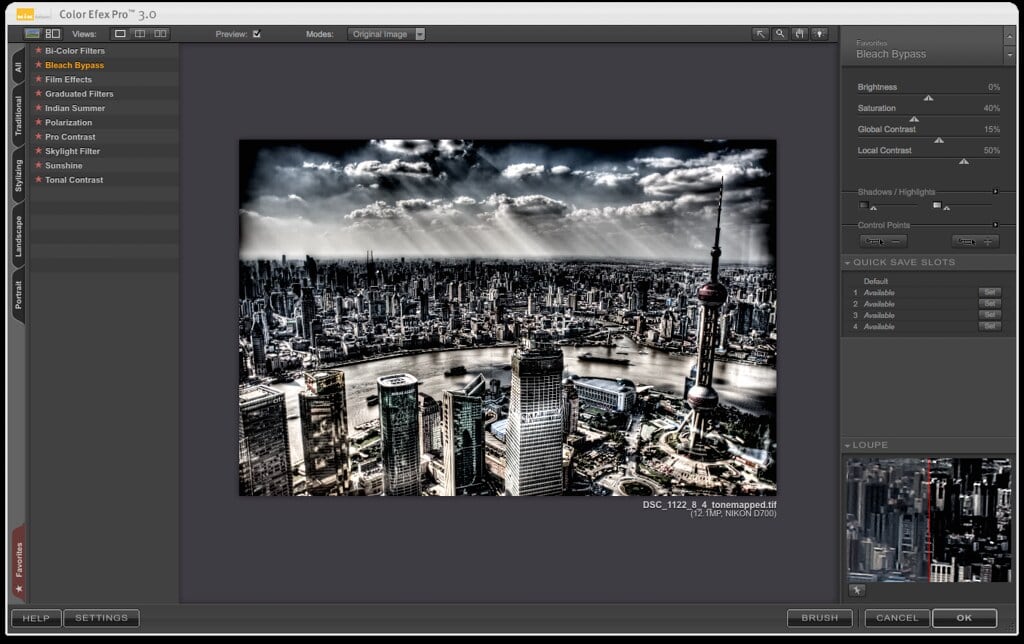
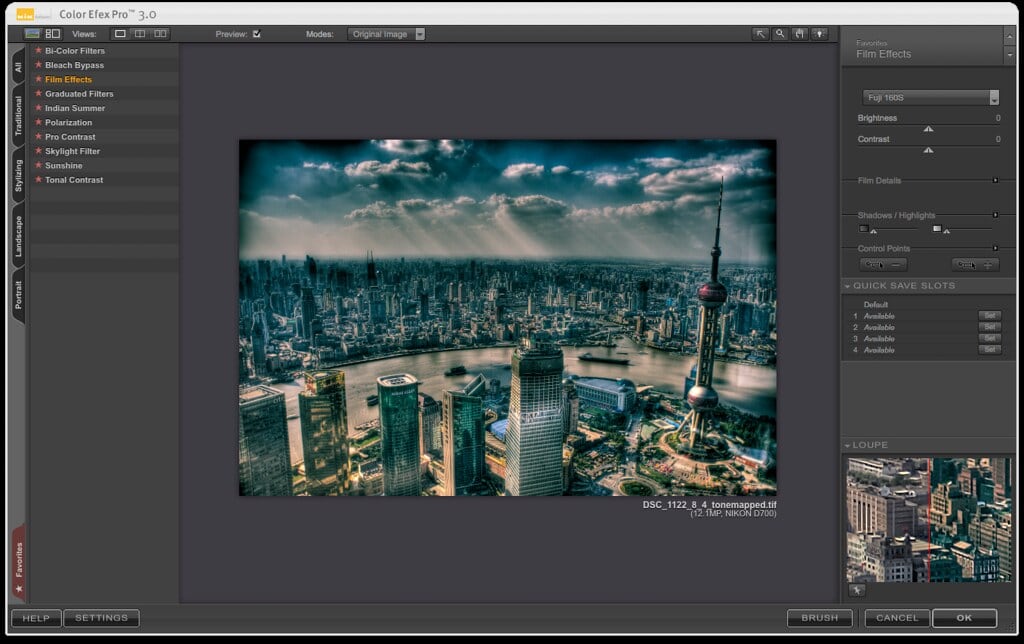
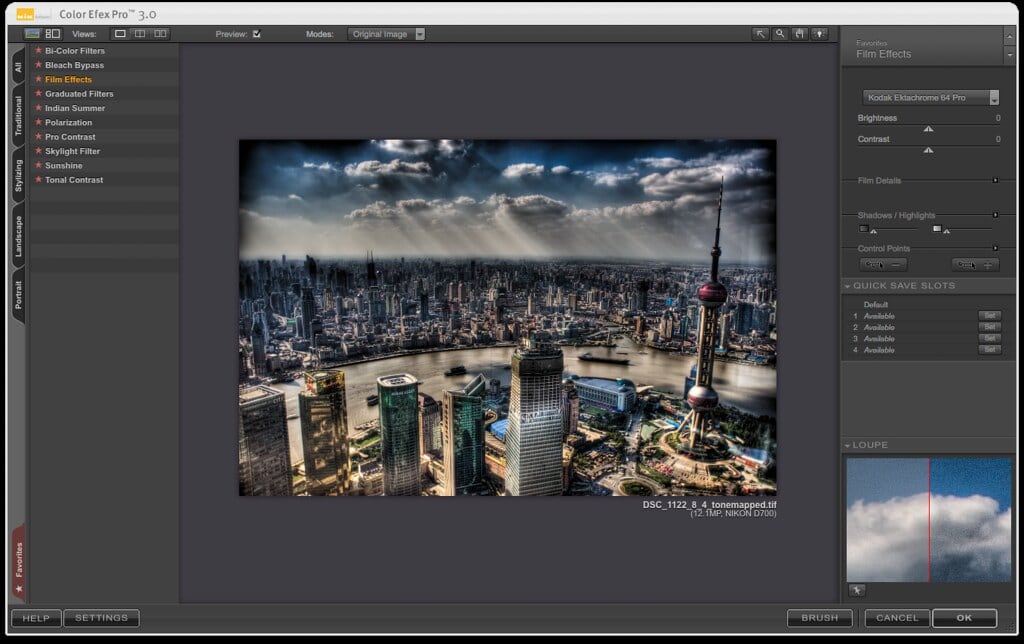
I especially like the last style, Film Effects, which has lots of cool camera profiles nested inside. For this image, I'm gonna go with Kodak Ektachrome 64 Pro.
What a neat look! Strong contrast, heavy saturated colors. I', lovin' it!
Always remember: Opinions are like assholes, everybody has one. I've been praised for my images, I've been insulted for them. I don't care. Just make them look like you want to and don't listen to haters. I understand that HDR is not everybody's darling, and you should understand that too. It's kind of a bastard between photography and painting, and many people like things clear. Forgive them.
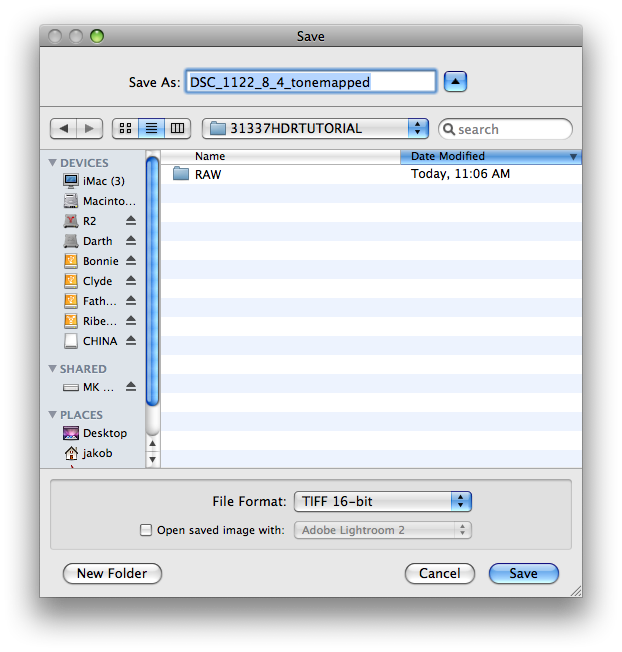
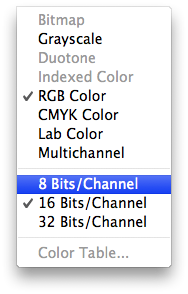
Hey! We're not done yet. One last important step. You've been editing in a ProPhoto color space so far, so you have to save it in a special way to conserve that. First, go to the image settings in Photoshop and change it to 8-bit:
Now click on File and Save as... Set it up like this:
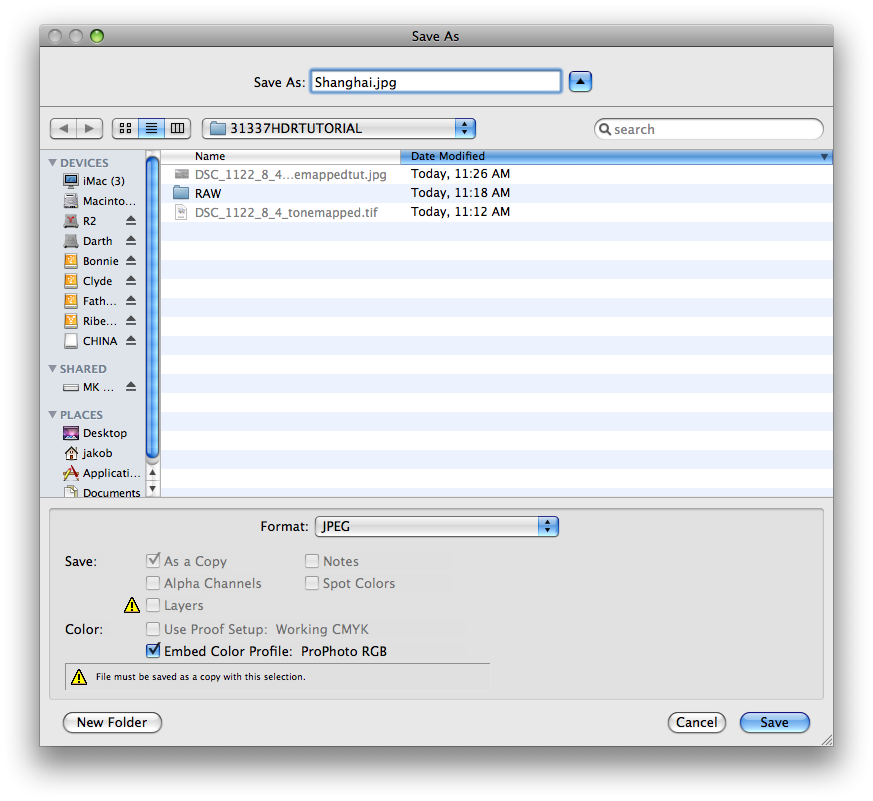
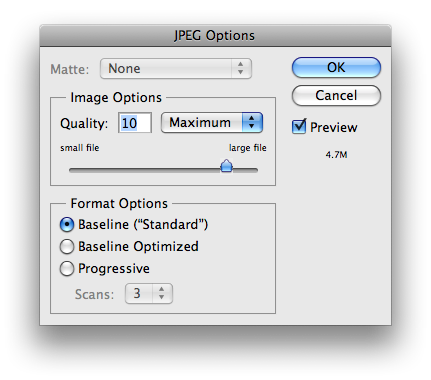
If you don't do this, the image will look completely different on other computers - and probably on your own too, as it will be saved in a different color space such as sRGB. So make sure to save it like this.
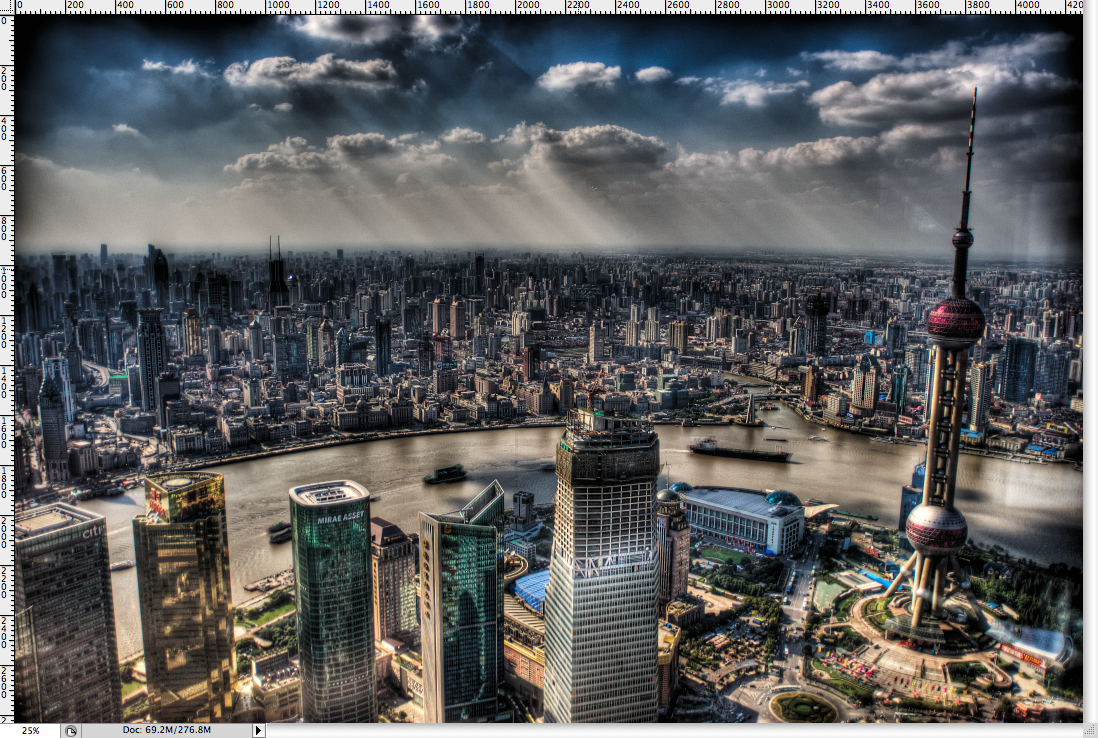
Now there's only one thing left to do:
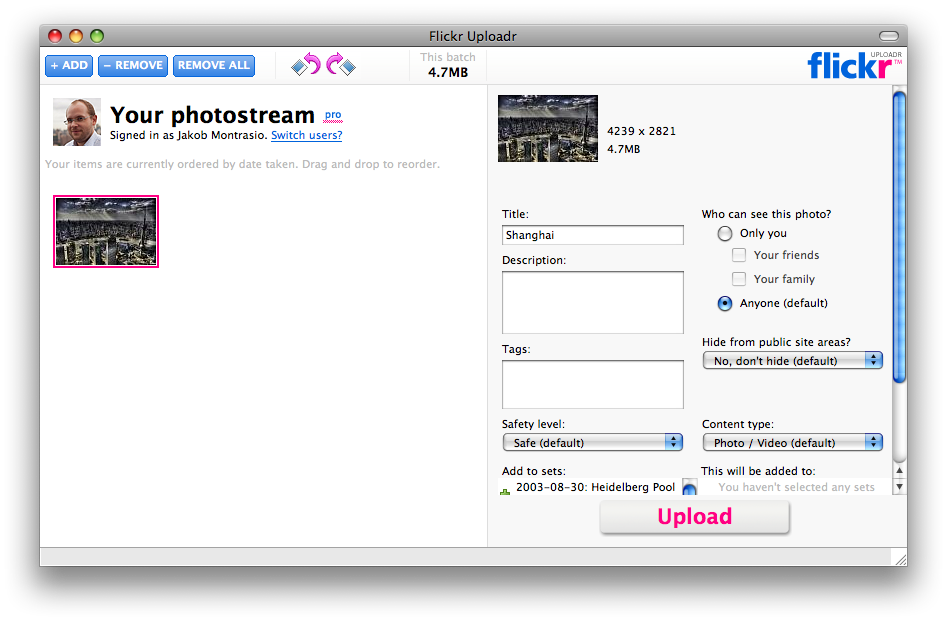
I hope you enjoyed the tutorial. If you have questions or something else, leave a comment. Thanks!