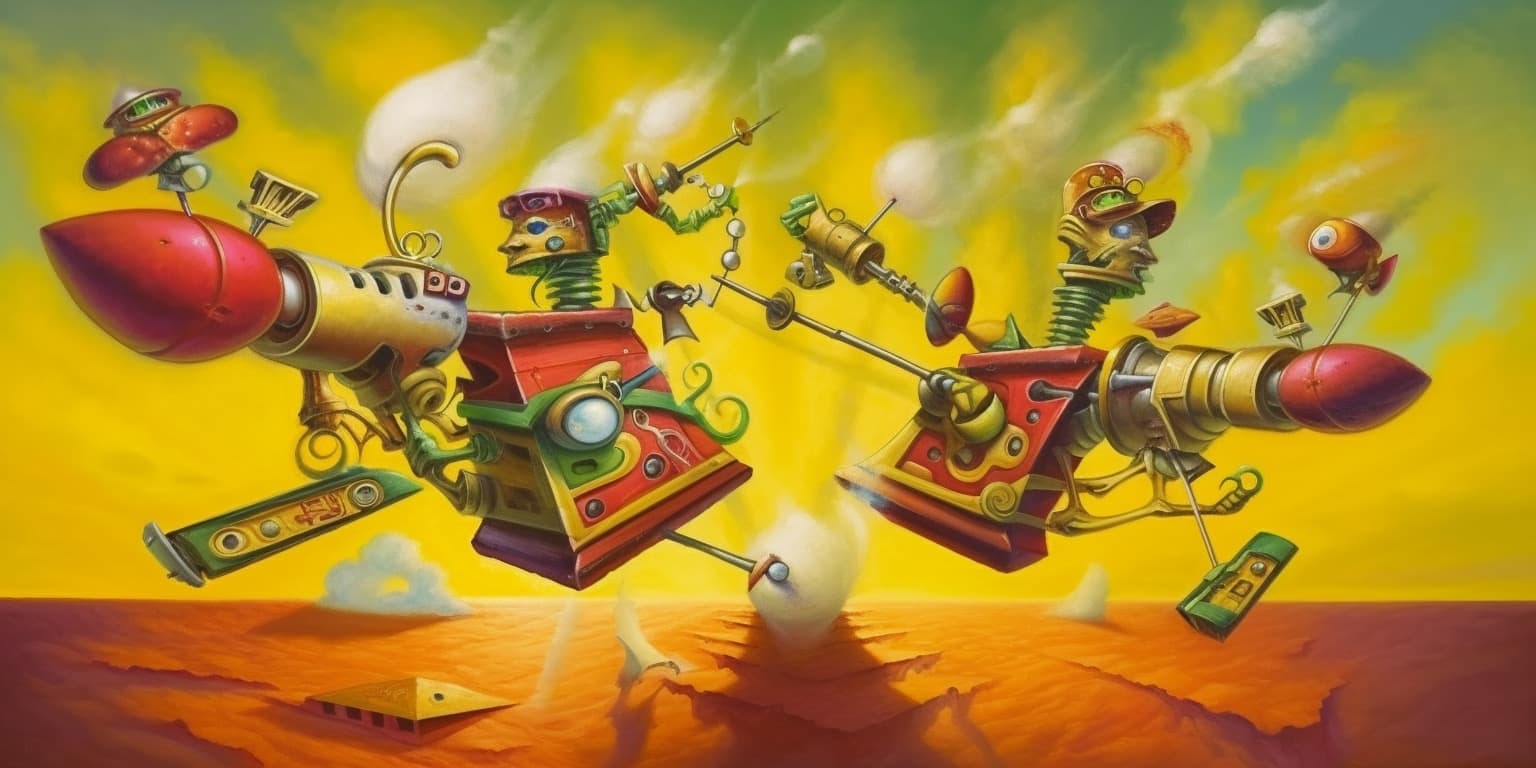
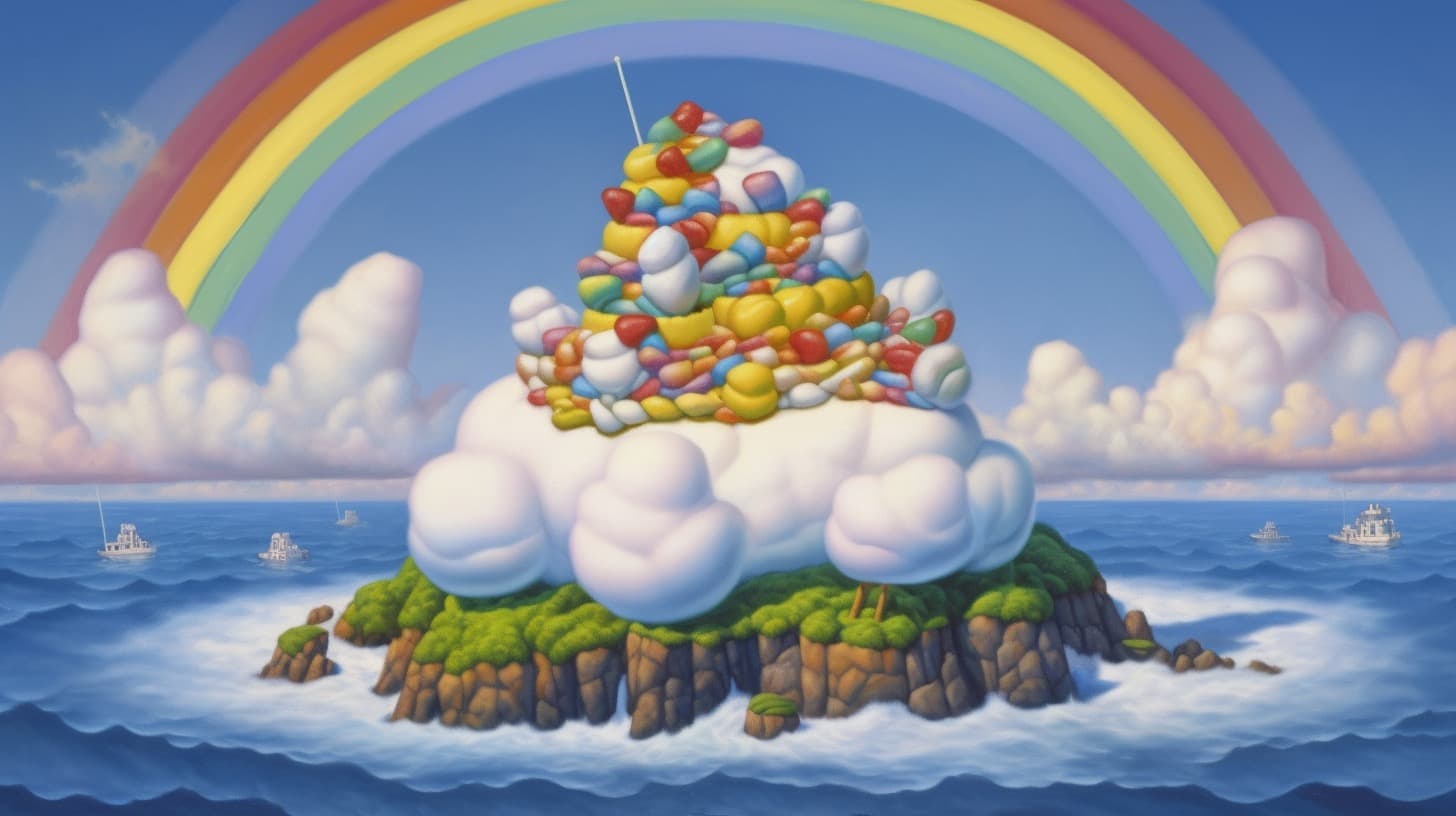
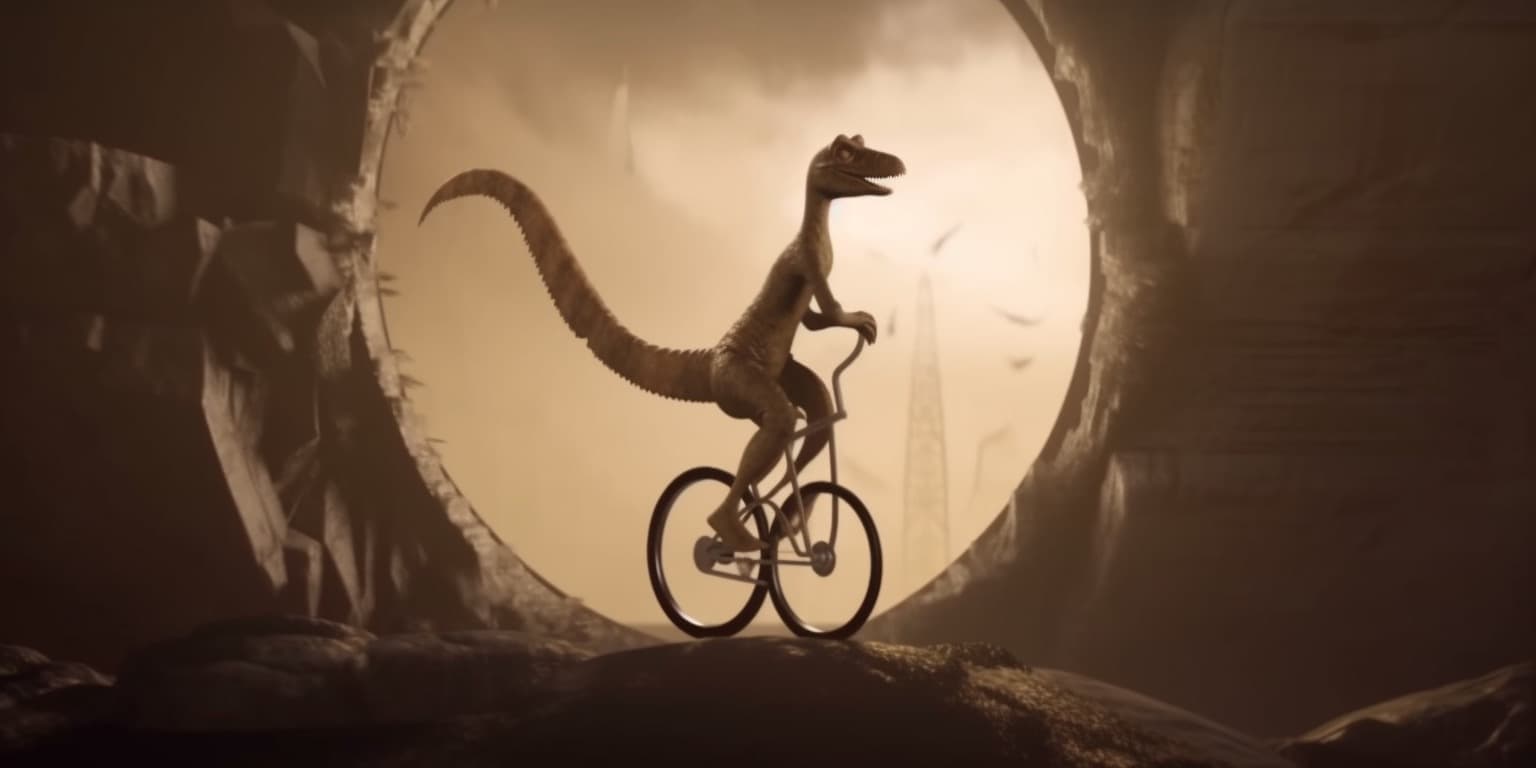
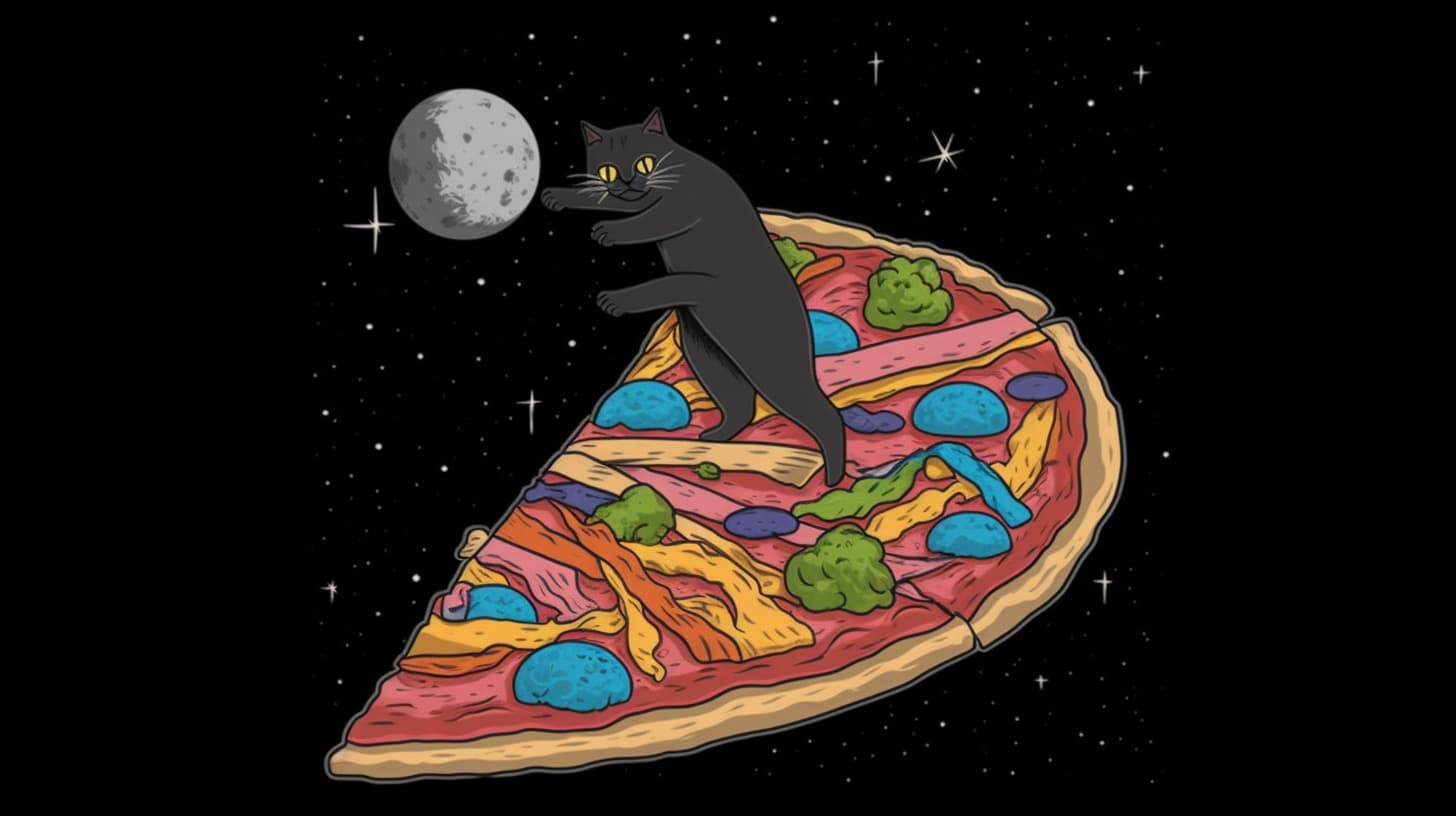
From Beginner to Pro: The Complete Midjourney v5 Tutorial for Generating Spectacular Images
Introduction: Exploring MidJourney v5 for Stunning Image Generation
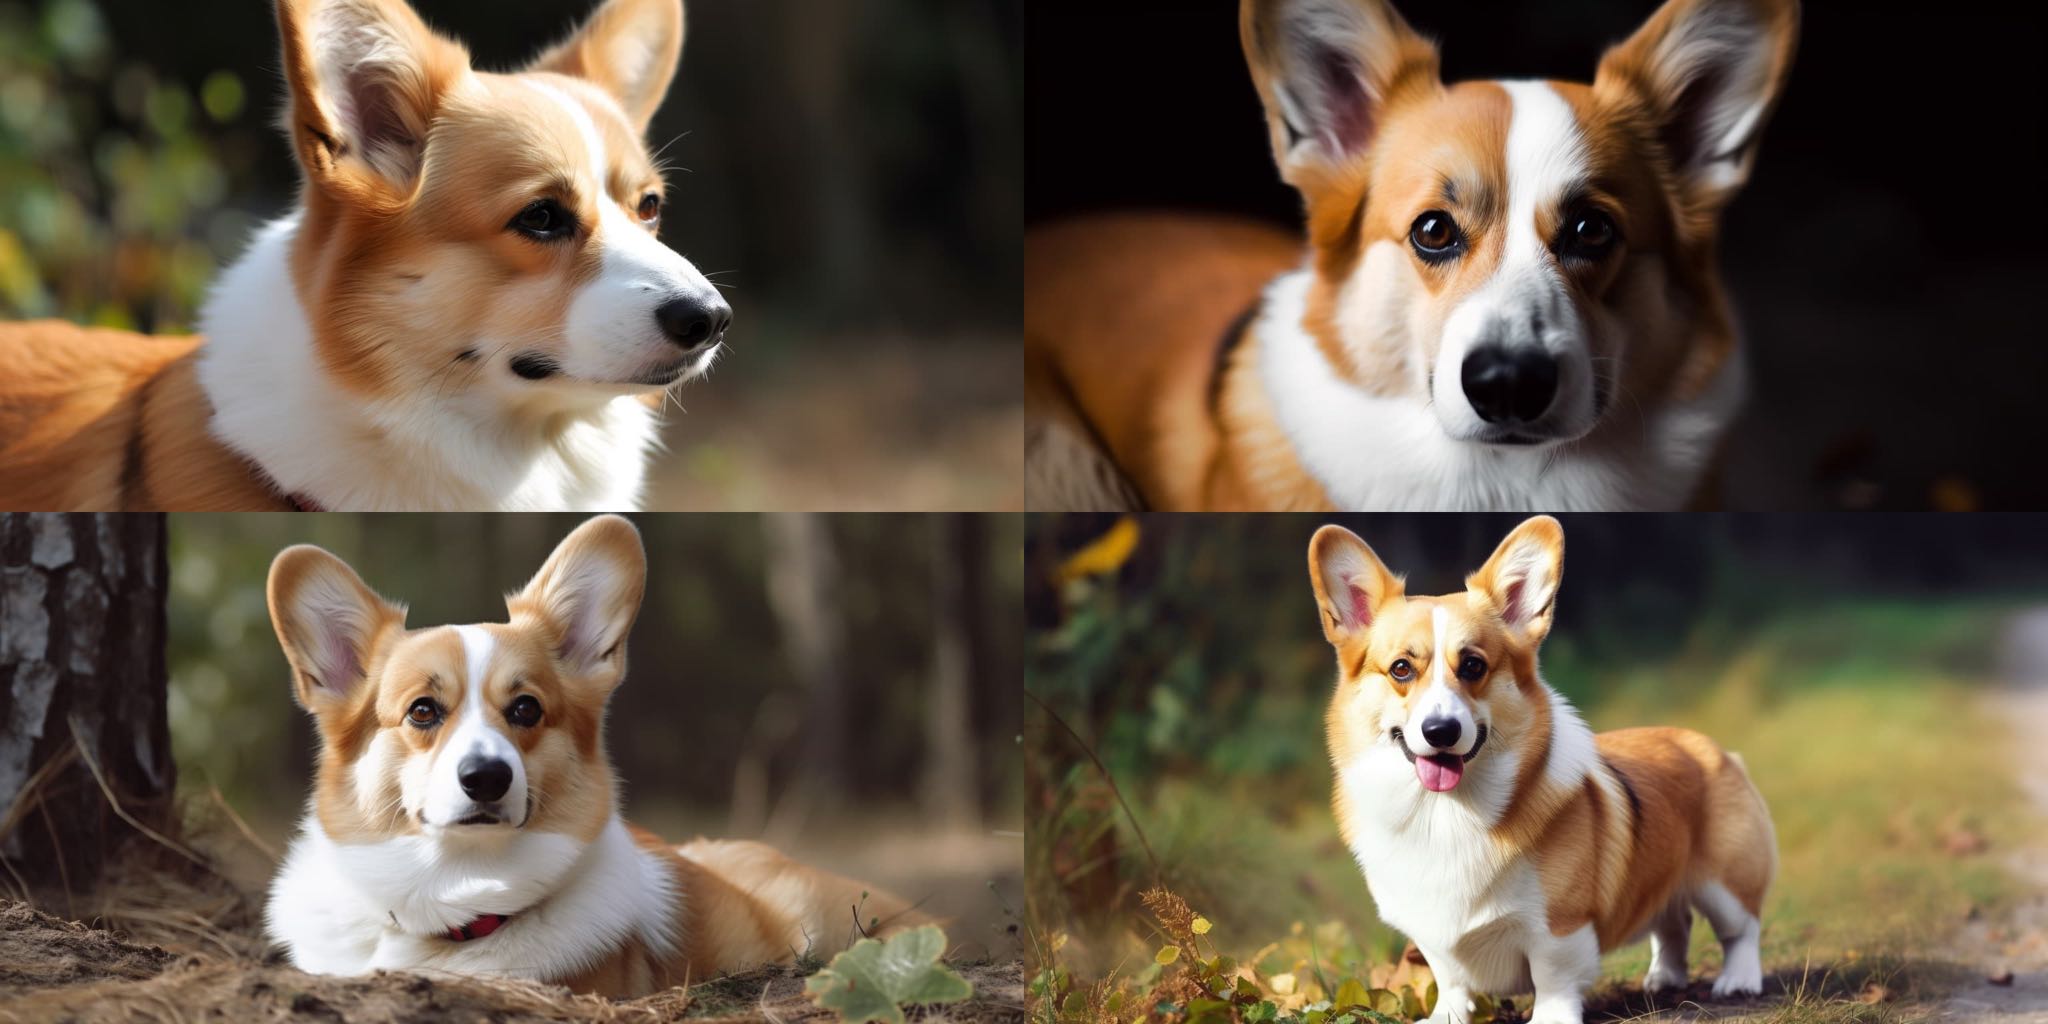
Welcome, fellow creatives! If you're here, it's because you're eager to dive into the fascinating world of MidJourney and harness its power to create stunning and unique images. MidJourney is an incredibly versatile tool that allows users to generate a wide array of visuals, from photorealistic scenes to fantastical worlds, all with the help of AI.
In this tutorial, we'll be exploring the vast capabilities of MidJourney, helping you become an expert at crafting the perfect prompts to generate amazing results. We'll discuss various parameters, tips, and techniques to ensure that you can make the most of this incredible tool. Our goal is to empower you to create captivating images that showcase your vision and creativity.
So, whether you're a seasoned artist looking to expand your horizons or a curious beginner eager to learn the ropes, this tutorial is for you! We'll start with the basics and gradually build our way up to more complex prompts, giving you a solid foundation to start your MidJourney adventure.
Get ready to embark on an exciting journey, where the only limit is your imagination! Let's dive right in and start exploring the magic of MidJourney together.

Understanding Parameters: Enhancing MidJourney v5 Images with Powerful Options
As we delve into MidJourney, it's essential to familiarize ourselves with the various parameters at our disposal. These parameters act as modifiers, allowing you to customize and refine your prompts to generate the perfect image. In this section, we'll discuss some of the key parameters and explain how you can use them to enhance your creations.
- Aspect Ratios:
The "--aspect" or "--ar" parameter allows you to alter the aspect ratio of your generated image. Aspect ratios are expressed as two numbers separated by a colon, such as 4:3 or 16:9. By adjusting this parameter, you can create images tailored to specific formats, like YouTube thumbnails or banner images. - Chaos:
The "--chaos" or "--c" parameter controls the variation in the initial image grids. Higher chaos values lead to more unpredictable and unique outcomes, while lower values result in more consistent, repeatable images. You can experiment with chaos values between 0-100 to find the perfect balance for your project. - Image Weight:
The image weight parameter, denoted by "--iw", is especially useful when combining image and text prompts. Adjusting this value will influence how much the image affects the final generation. The default setting is "--iw 0.5", but you can increase it up to "--iw 2" for greater image influence. - Quality:
The "--quality" or "--q" parameter determines the amount of time spent generating your image. Higher quality settings will yield more detailed results but also consume more GPU minutes per job. Note that this parameter does not impact the image resolution. You can adjust the quality with values like 0.25 (quarter quality), 0.5 (half quality), or 1 (base quality). - Seed:
Seed numbers are generated randomly for each image, but you can also specify them with the "--seed" or "--sameseed" parameter. This allows you to reproduce an image you found on the MidJourney website by inputting its seed code. - Stop:
The "--stop" parameter lets you halt the image generation process partway through. Stopping the job earlier can produce blurrier, less detailed images. For example, using "--stop 50" would stop the generation at 50% completion. - Stylization:
The "--stylize" or "--s" parameter influences the strength of the MJ training applied to the image. Lower stylization values generate images more faithful to the prompt, while higher values create more artistic, loosely connected images. The default setting is "--s 100", but you can experiment with values ranging from 0-1000. - Tile:
The "--tile" parameter is perfect for creating seamless, repeating patterns ideal for wallpapers, fabrics, and textures. Simply include "--tile" in your prompt, and MidJourney will generate an image that can be tiled seamlessly.
Now that we have a solid understanding of the various parameters, we can start incorporating them into our prompts to create more personalized and captivating images. Remember, experimentation is key, so don't be afraid to mix and match these parameters to find the perfect combination for your vision!
Camera Control Tips: Mastering Angles and Perspectives in MidJourney v5
One of the most powerful aspects of MidJourney is the ability to control the camera angle and zoom in your generated images. This allows you to create dynamic and captivating scenes that evoke a sense of depth and perspective. In this section, we'll explore some phrases you can incorporate into your prompts to achieve various camera effects.
- Camera Far Away 🔭
"Wide-Angle Shot" or "Wide-Angle": The camera is far away from the subject.
"Ultra-Wide Angle" or "Ultra Wide-Angle": The camera is very far away from the subject.
"Far-Shot" or "Far-Angle": The camera is far away from the subject and positioned below or above it.
"Aerial View" or "Satellite View" or "Drone Footage": The camera is far away and looking down on the subject. - Camera Medium Distance 👀
"Medium-Shot" or "Medium-Shot Angle": The camera is low, looking up at the subject.
"Top-Down Shot" or "Top-Down Angle": The camera is high, looking down at the subject.
"Ground-Shot" or "Ground-Shot Angle" or "Ground Angle": The camera is high, looking down at the subject.
"Low-Angle Shot" or "Low Angle": The camera is very low, looking way up at the subject.
"High-Angle Shot" or "High Angle": The camera is fairly high, looking down at the subject.
"Full-Shot" or "Full-Body Shot" or "Full-Length Shot": The camera captures the entire subject.
"Dutch-Angle" or "Dutch Tilt" or "Canted Angle": The whole shot is slanted/diagonal, creating a horror-esque vibe. - Camera Close Up 🔍
"Eye-Level Shot": The camera is fairly close and looking levelly at the subject.
"Close-Up": The camera is close to the subject.
"Glamour Shot" or "Glamour Portrait": The camera is intimately close to the subject.
"Macro-Shot" or "Macrophotography": The camera is extremely close to the subject.
These camera control phrases can be integrated into your prompts to create striking and engaging images. Remember, placing them either at the beginning of the prompt or at the very end often yields the most impactful results. Experiment with these phrases and combinations to find the perfect camera angle for your MidJourney masterpiece!
Using Punctuation in Prompts: Crafting Effective MidJourney v5 Image Descriptions
As you craft your prompts, it's essential to consider how punctuation can impact the generated image. While MidJourney has its unique ways of interpreting punctuation, sticking to conventional punctuation practices can enhance your prompts and make them more effective.
- Recognized Punctuation
MidJourney understands the following punctuation:
- Double-Hyphens
- Double-Colons
- Spaces
Double-Hyphens, also known as em dashes, delimit parameters (e.g., "--ar 16:9" or "--v 5"). Double-Colons delimit integers, both positive and negative, for weights (e.g., "::-0.5"). Spaces serve as the primary character separating tokens. - Unrecognized Punctuation
Punctuation such as brackets [ ], braces { }, slashes / /, semicolons ; ;, and parentheses ( ) are not explicitly recognized by MidJourney. However, they can still play a role in shaping the final image as "noise."
Although not functional, these punctuation marks can influence the generated images, adding an artistic touch to your creations. - Commas and Hyphens
Commas help group tokens and improve clarity in your prompts. Although MidJourney doesn't specifically recognize commas, using them in your prompts can make them more effective.
Example: Instead of writing "Ornate shadowed massive sentient," try "Ornate, shadowed, massive, sentient."
In some cases, hyphenation may strengthen the relationship between tokens. For example, "Antique brass candlestick" could be improved by writing it as "Brass-antique-candlestick."
Remember, the primary goal is to make your prompts more effective in generating the desired image. Experiment with different punctuation practices to find what works best for your MidJourney creations. Stick to conventional punctuation rules and leverage the power of "noise" to craft engaging and visually stunning images.
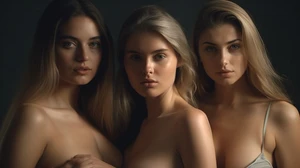
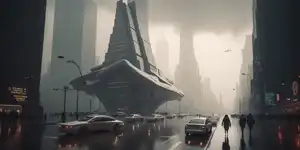
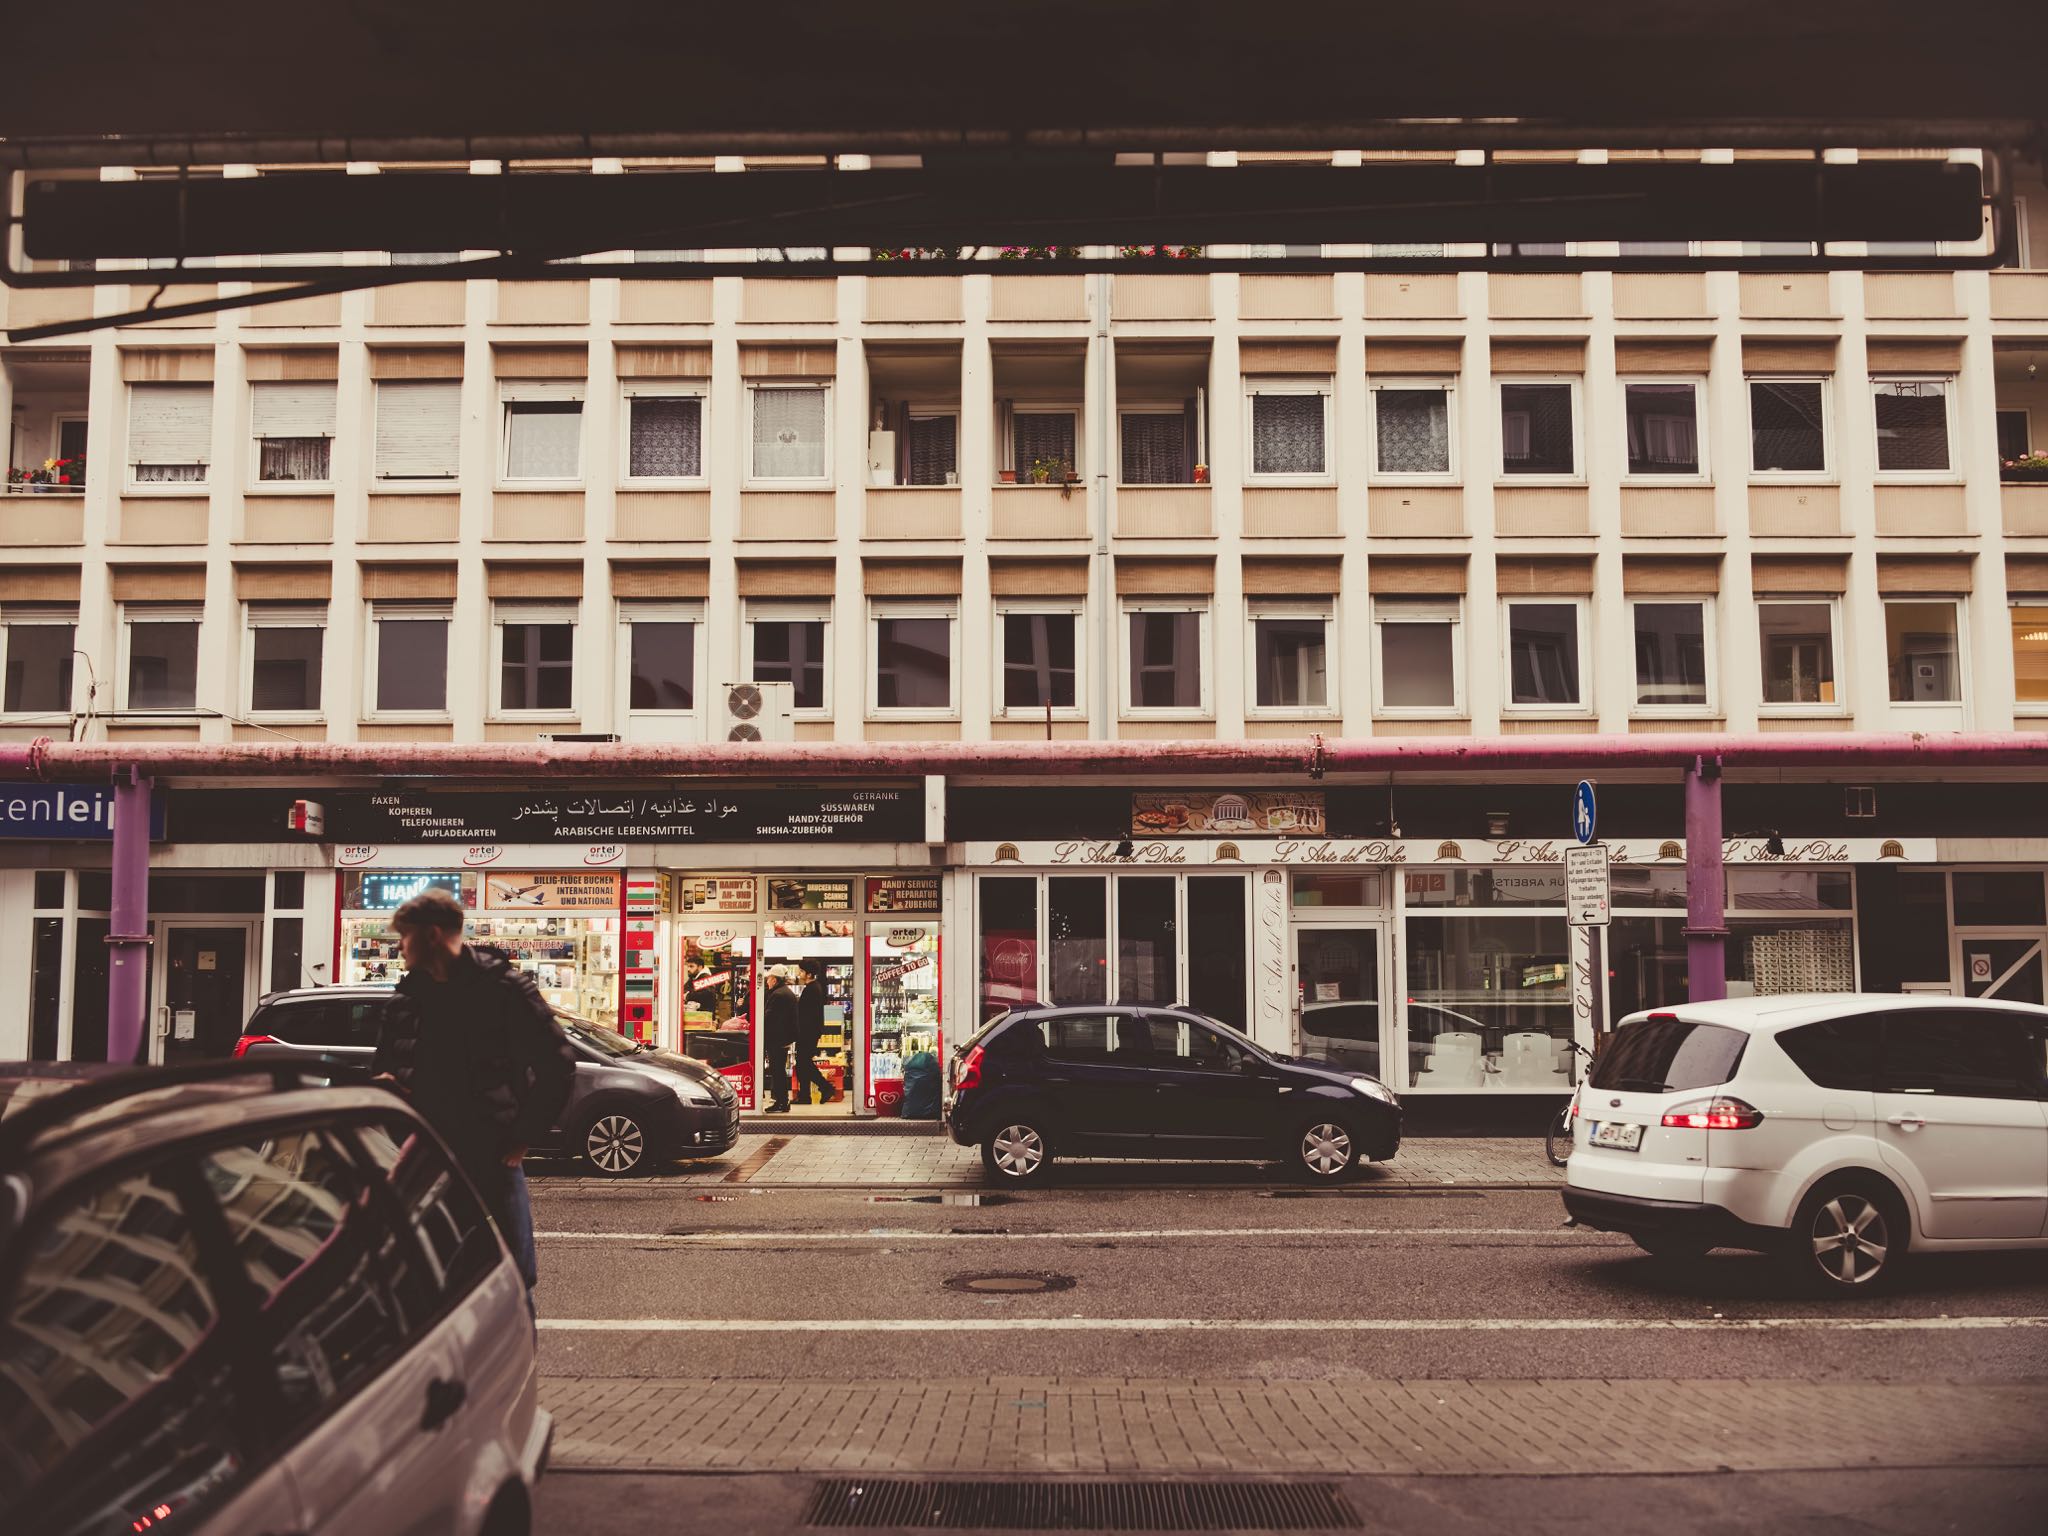
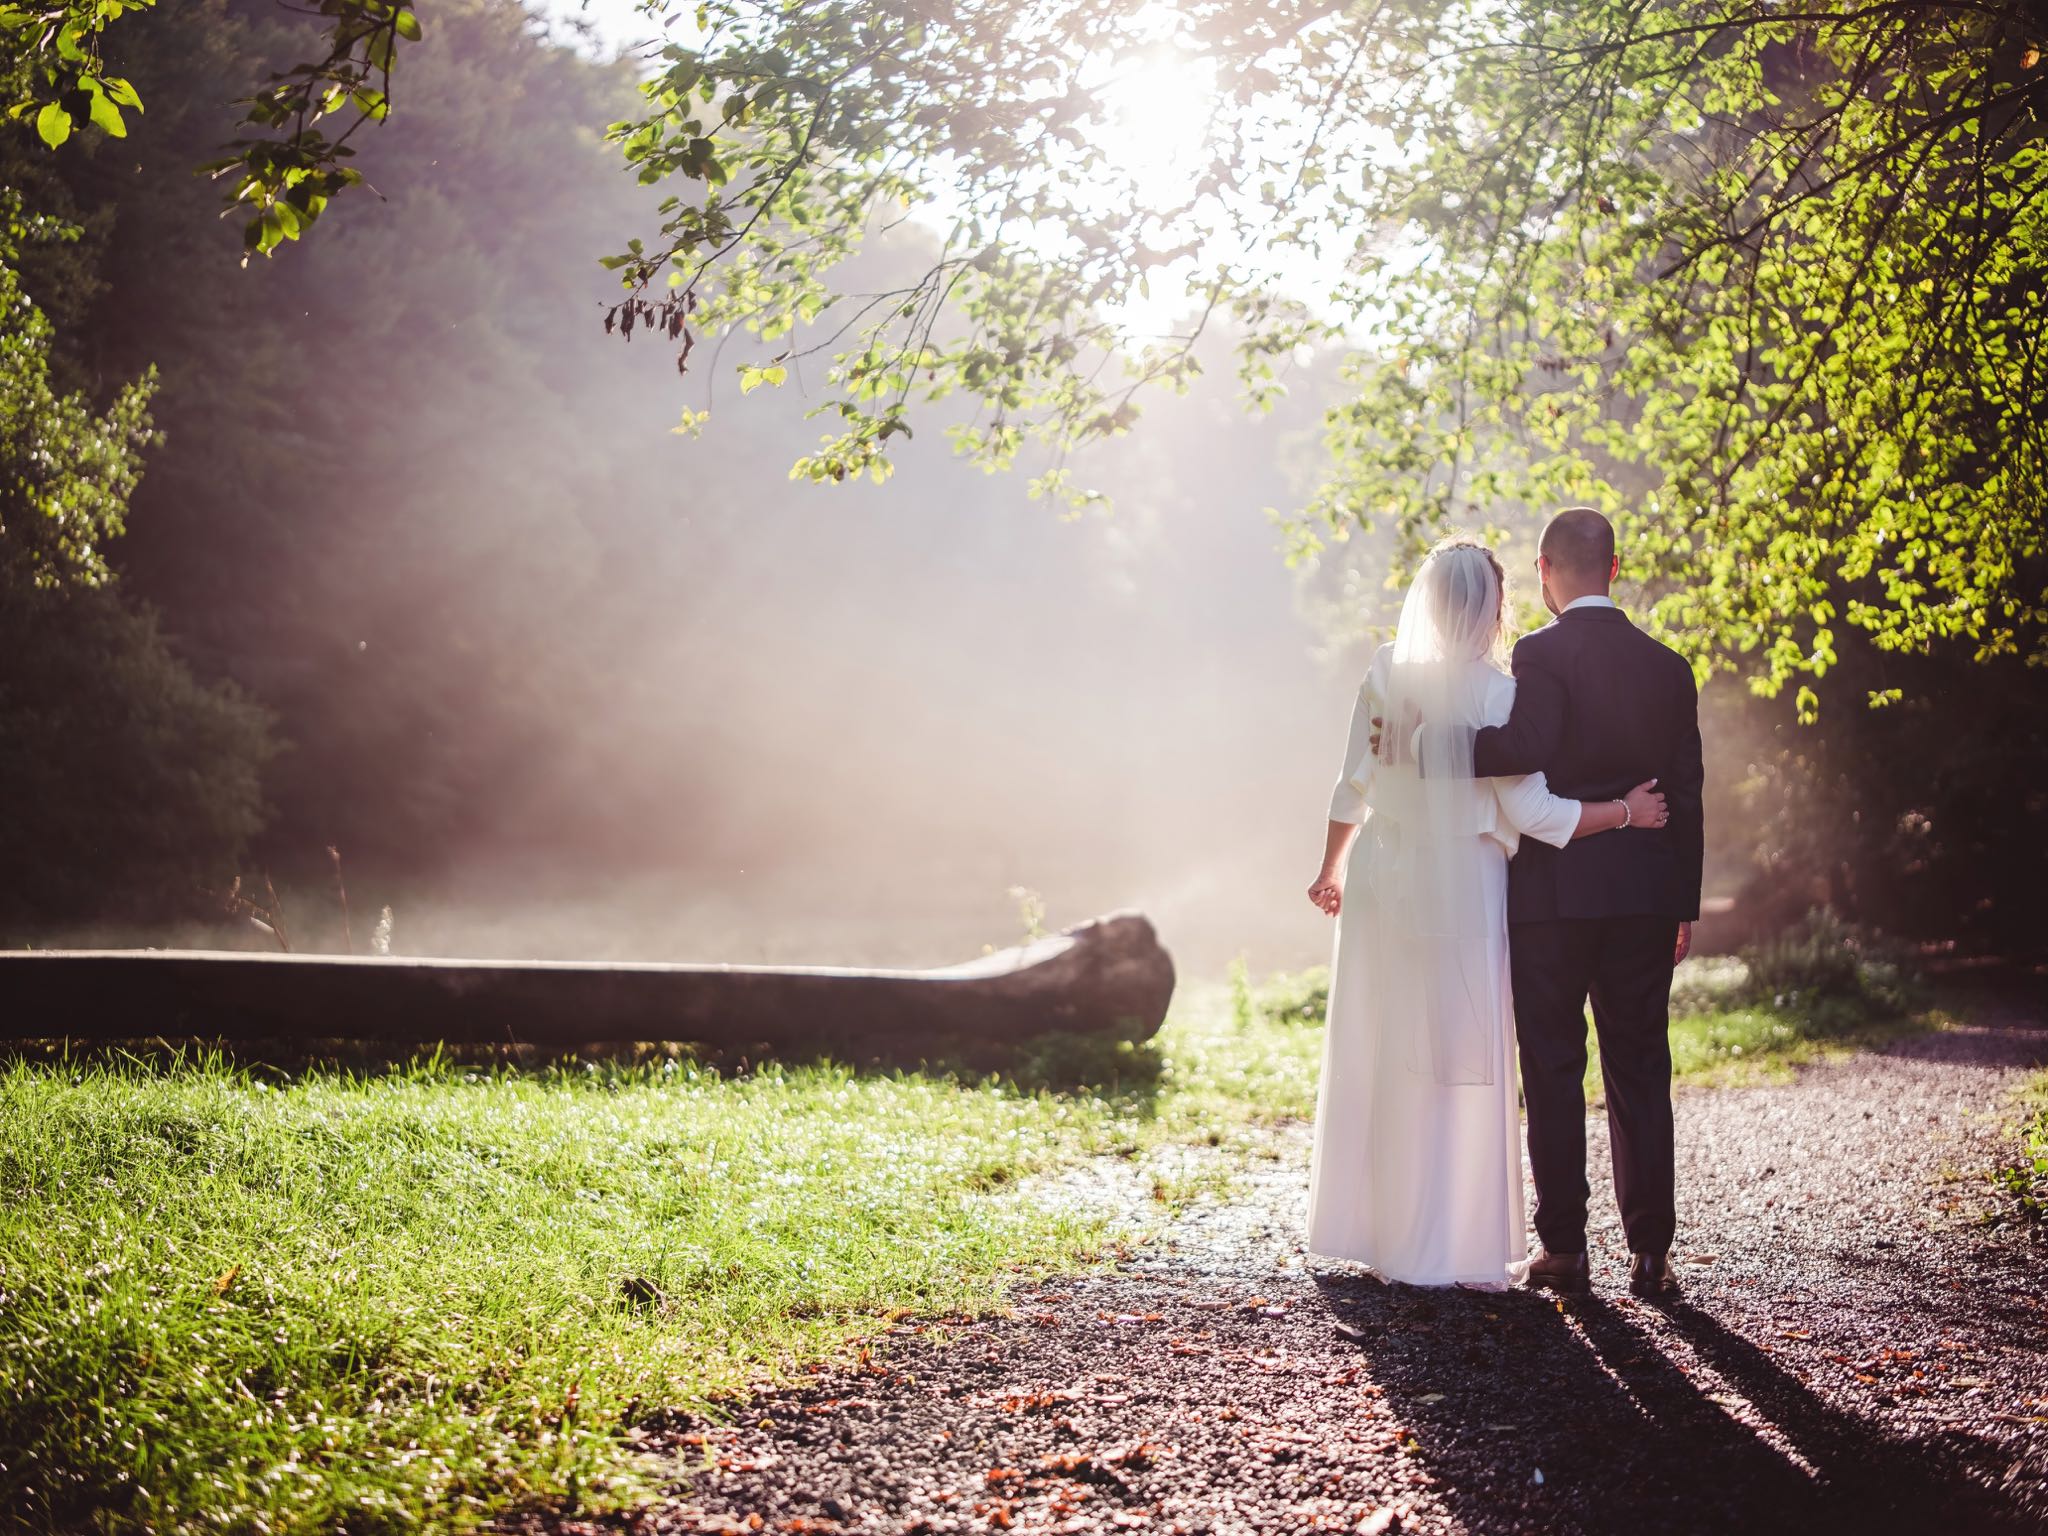
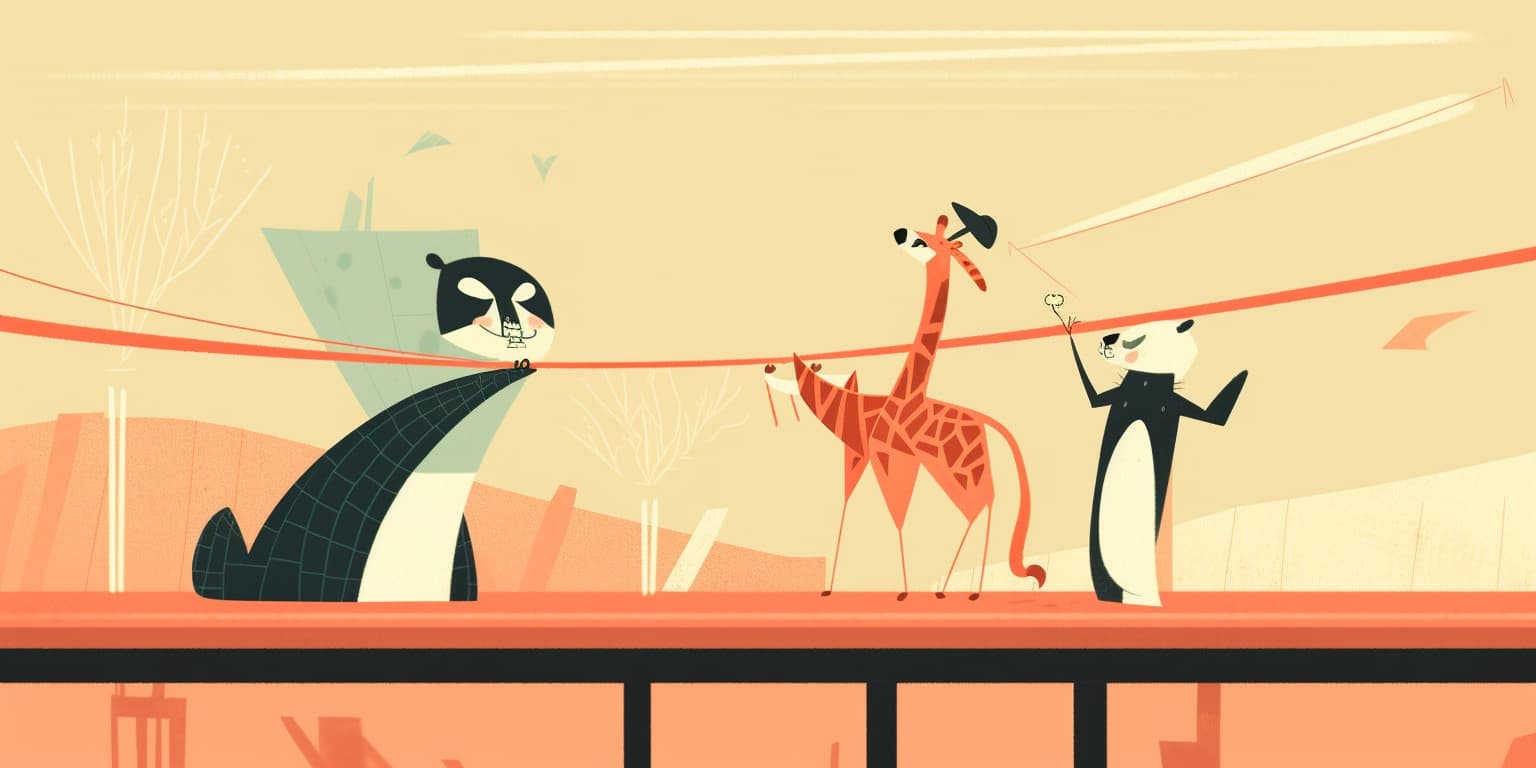
Prompting Tips for Different Styles: Unleashing Your Creativity with MidJourney v5
When it comes to generating a wide variety of image styles using MidJourney v5, the key is to tap into different art movements, techniques, media types, influences, and more. This section will provide you with some tips to create diverse styles in your generated images.
- Art Movements:
Incorporate well-known art movements in your prompts to introduce their style and techniques. Examples include "Impressionism," "Surrealism," or "Pop Art." - Media Types:
Specify the medium you want your image to resemble. This can range from photography and illustration to comic, concept art, storyboard, sculpture, and more. - Media Titles:
Reference popular media titles to bring their unique style into your generated image. For example, "from Spirited Away," "from The Wizard of Oz," or "from the video game Joust." - Artist Names:
Invoke the style of a particular artist by including their name or the title of their work in your prompt. Examples are "Vincent Van Gogh," "Frida Kahlo," or "Banksy." - Techniques:
Mention specific artistic techniques to add their style to your image. Examples include "impasto," "pencil sketch," "watercolor," or "digital art." - Time Periods:
Reference historical time periods to capture their aesthetics. Examples include "Renaissance," "Baroque," or "Modernist" periods. - Geographic Locations:
Mention specific regions or countries to bring their artistic styles into your generated images. Examples are "Japanese Ukiyo-e prints," "African tribal art," or "American Abstract Expressionism."
Remember that photography requires the least memory, so it's the default style if you don't specify any other elements. Don't be afraid to mix and match different styles, influences, and techniques in your prompts to create unique and visually captivating images with MidJourney. Experimentation is the key to unlocking the full potential of this powerful image generation tool.
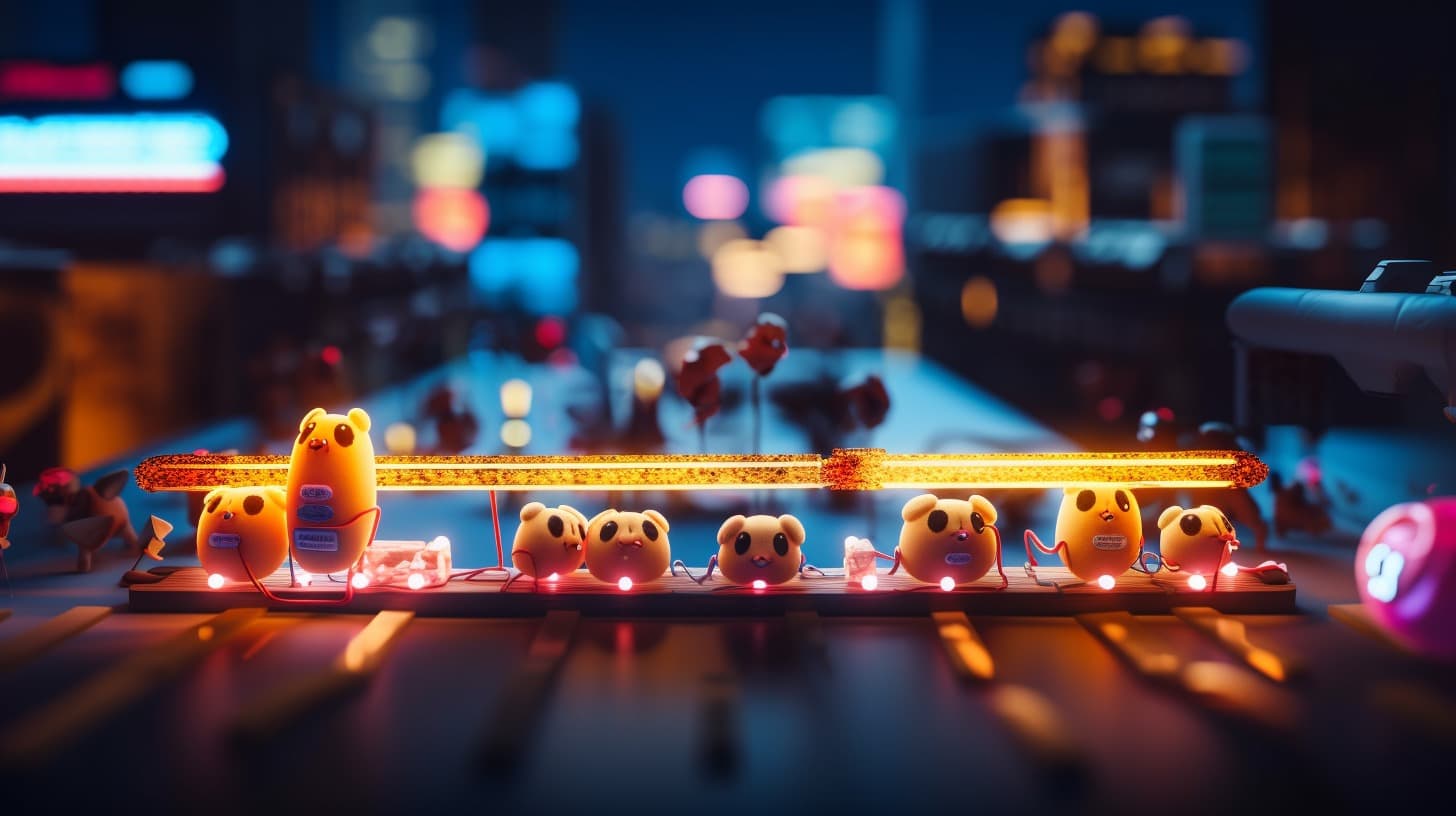
Crafting Sample Prompts: Step-by-Step Guide to Stunning MidJourney v5 Creations
In this section, we'll explore the process of creating sample prompts that showcase the full range of possibilities with MidJourney v5. Starting with a simple prompt, we'll gradually build up to a more complex and detailed image description.
Begin with the most basic prompt, and incrementally add elements and modifiers to create increasingly intricate images. Let's start with our simple example:
Now, let's build upon this basic prompt by incorporating the various tips and techniques we've discussed earlier:


By following these steps and experimenting with various styles, techniques, and camera angles, you can create a wide range of visually stunning images with MidJourney v5. The key is to let your imagination run wild and not be afraid to push the boundaries of the tool. Happy prompting!
Creating Your Own Prompts: Customizing MidJourney v5 for Unique Image Results
Now that you've learned the ins and outs of crafting effective prompts with MidJourney v5, it's time to put your newfound knowledge to the test and create your own custom prompts. The possibilities are endless, and you have the power to generate stunning and unique images tailored to your specific needs and creative vision.
When you're ready to begin, keep these tips in mind:
- Start with a clear, concise subject: Your primary subject should be the focus of your prompt. Be as specific as you can to ensure the best results.
- Experiment with styles and techniques: Don't be afraid to mix and match different artistic styles, techniques, and genres to create a truly unique image.
- Utilize camera control tips: Incorporate various camera angles, distances, and perspectives to add depth and interest to your image.
- Use punctuation wisely: Proper punctuation can help improve the clarity of your prompts, so don't be afraid to use commas, hyphens, and other punctuation marks when appropriate.
- Take advantage of the parameters: Make sure to utilize the various parameters available in MidJourney v5 to fine-tune your image generation process. Experiment with aspect ratios, chaos, image weights, and other settings to achieve the desired result.
- Practice, practice, practice: The more you experiment with crafting prompts, the better you'll become at utilizing the full potential of MidJourney v5. Don't be afraid to test out different combinations of elements to discover what works best for you.
As you embark on your journey of creating custom prompts with MidJourney v5, remember that the only limit is your imagination. With a little practice and creativity, you'll soon be generating jaw-dropping images that bring your unique vision to life. Good luck and happy prompting!
Conclusion: Embarking on Your MidJourney v5 Image Creation Adventure
Well, folks, we've reached the end of this fantastic journey through the magical world of MidJourney v5. By now, you should be equipped with all the knowledge and tools you need to create captivating and awe-inspiring images that will make your friends and followers go "wow!"
Remember, practice makes perfect, so don't be afraid to explore and experiment with different prompts, styles, and techniques. The more you dive into the creative process, the more you'll discover the infinite possibilities that MidJourney v5 has to offer.
Thank you for joining me on this tutorial adventure. I hope you found it informative, enjoyable, and inspiring. Now go forth, create, and let your imagination run wild!